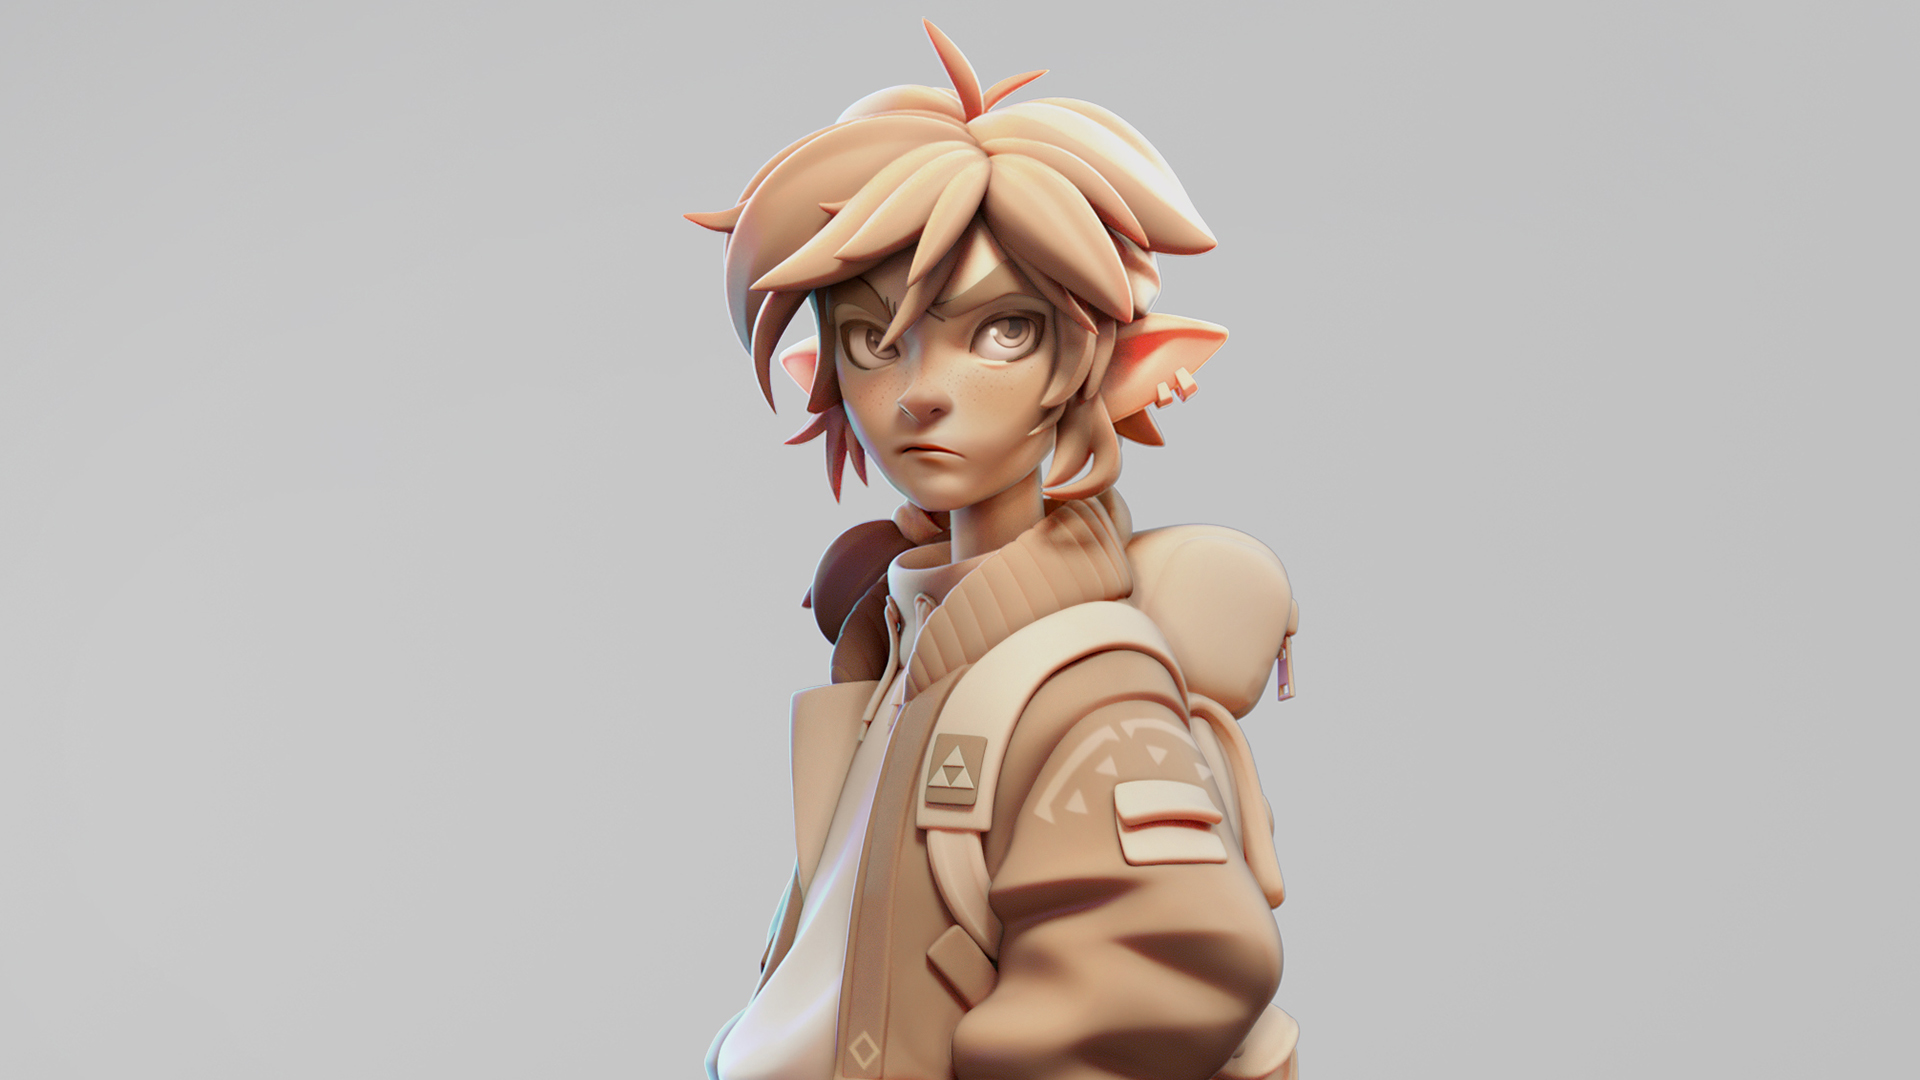
Natalia P Gutiérrez is a phenomenal, narrative-driven character artist who weaves wonderfully intricate stories with her characters. We’ve had the utmost pleasure of talking to Natalia about how she approaches storytelling and her process for setting up the Toolbag 3 scene for “The Mother”, her winning entry for Artstation’s character art division of the ‘Beneath The Waves’ challenge.

Could you tell us a little about yourself and how you got involved in character art?
When I finished high school I wasn’t sure what I wanted to study or dedicate myself to. At that time, I used to mainly do 2D art, but video games intrigued me. I decided to study two one-year courses, each covering the basics of modeling, texturing, animation, etc. When I finished those I still hadn’t a clear idea of what I wanted to do, so I started sculpting characters at home. I used to play a lot of Dota 2 and saw they had a workshop on Steam where people could upload personal creations to be reviewed by Valve. If they were good enough, they would be included and sold ingame. I wanted to try my luck so I started sculpting sets of armor and characters, and I haven’t stopped doing character art ever since.

How do you approach storytelling as a character artist?
I think the most important thing is to recreate the character as faithfully as possible, not only physically but also their emotions and temper. If it’s an existing concept, a character artist should ask themselves many questions while using the character’s background as base. Where they’re from, what do they do, what’s their story, has something happened to them in the past, if so, how does that reflect on the character now? The more you get to know the character in your mind, the better you can represent it on 3D.
Art is a form of communication, so you’re trying to communicate a story with a character, and it will be successful if the audience can understand what you’re trying to portray. Apart from understanding the character from the inside, you’ll have to make use of strong anatomy foundations. Even if the character is a monster or stylized, having a solid knowledge of anatomy is a must so that you can deform or adapt it later.

Where do you draw your influences from?
My favourite style is realism, so artists like Adam Skutt or Frank Tzeng, among others. I also love dark fantasy and the traditional art of Forest Rogers. My main influence is reality itself, of course. The things I learn and observe that I later apply to my art.

Why did you choose Toolbag to present your work?
I probably first heard of it when I was doing art for Dota 2, since most of the workshop artists used it to make their presentations. It looked easy and intuitive to use and, above all, the best way to quickly visualize and test changes in real-time. It’s what I value the most about it; the ability to test models and textures on different lightning environments, quickly seeing if they work, and tweaking them accordingly.
How have you been coping with all the fame and glory since you’ve won Artstation’s Beneath the Waves challenge?
It’s been hard. I had to retire to a castle high in the mountains guarded by two dragons in order to get my peace back.

Could you give us a breakdown on your lighting and material setup for your piece, The Mother?
Sure! I’ve included some images showing my material settings and lighting setup.

Materials
For the body materials (body and shell), I just imported and set up my textures from Painter. I followed the metal/roughness workflow. I also added a bit of red scatter depth to both materials and translucency controlled by a translucency map. 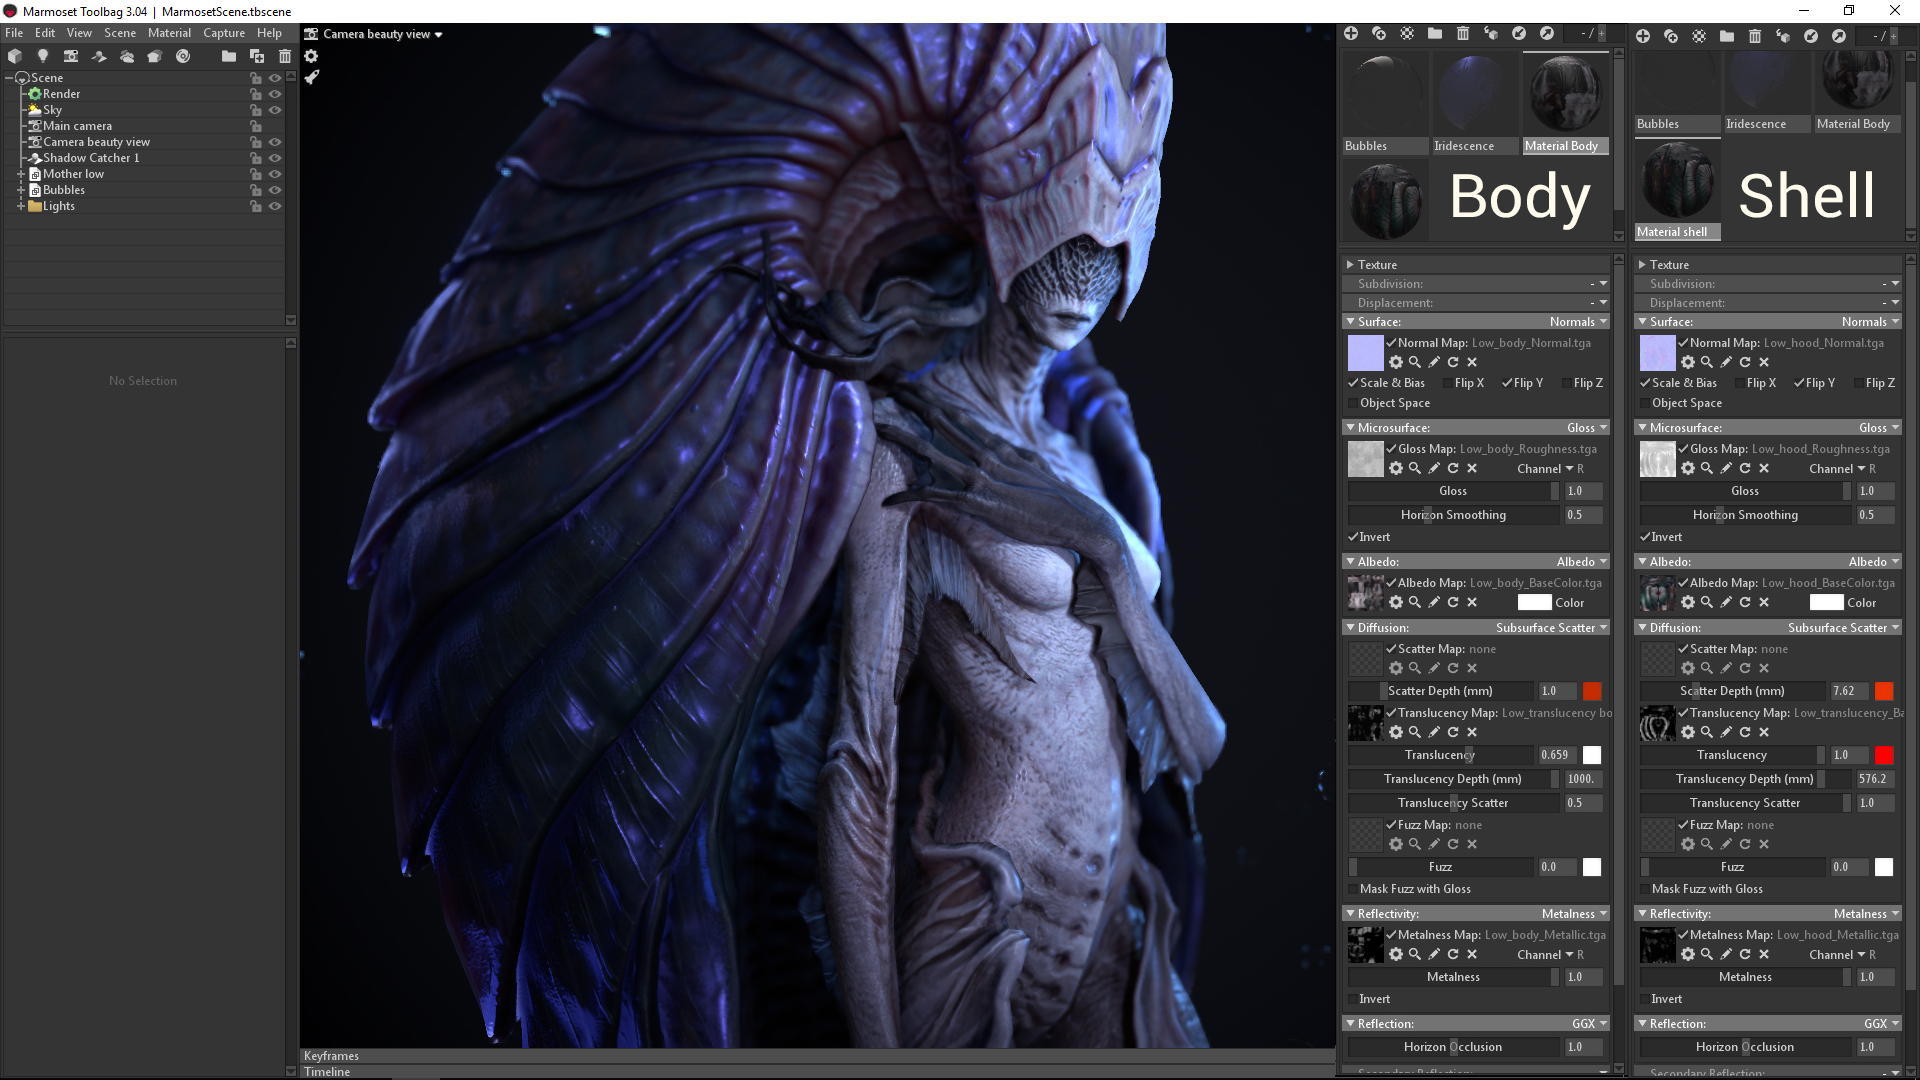
For the bubbles, I created a new material using the ‘Glass Simple’ preset that comes with Toolbag. I changed the secondary reflections to ‘Newton’s Rings’, tweaked the strength a bit, and switched the Transparency mode to ‘Refraction’, setting the ‘index of Refraction’ slider completely to the left.
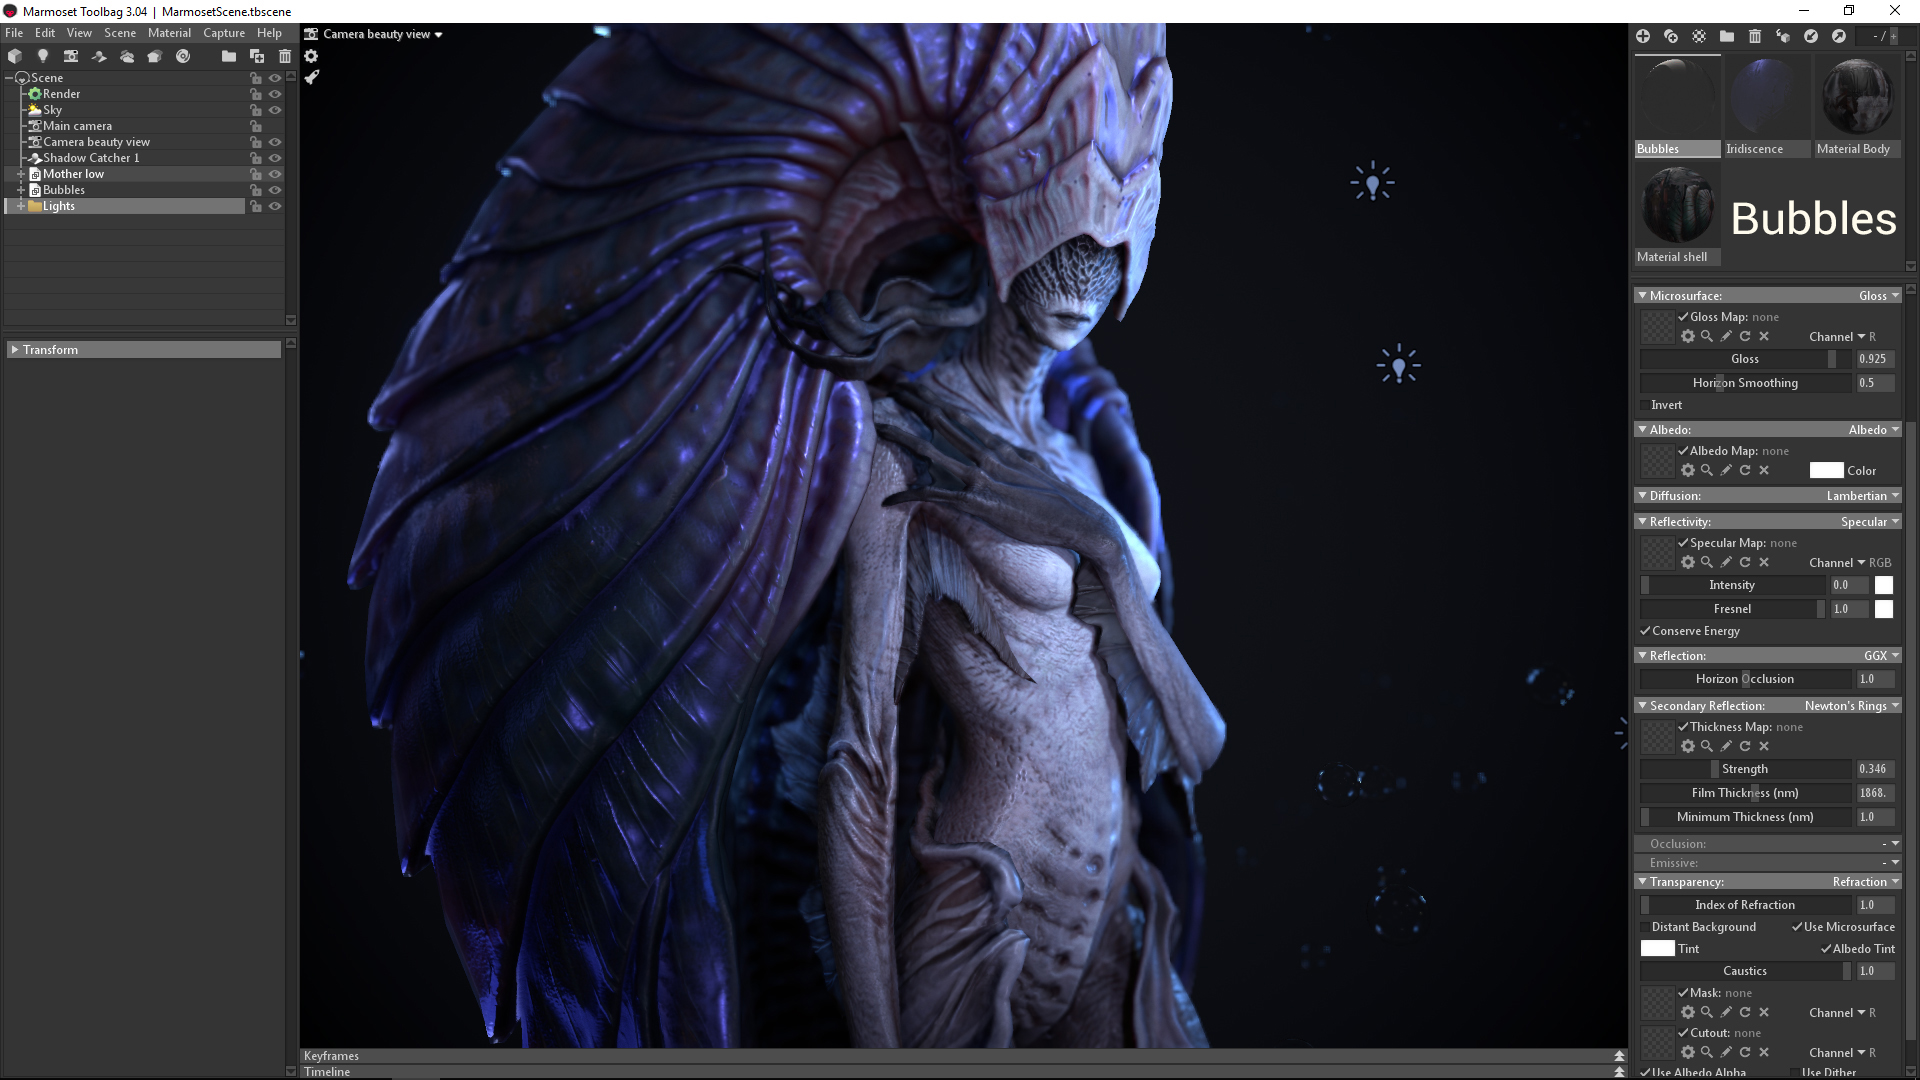
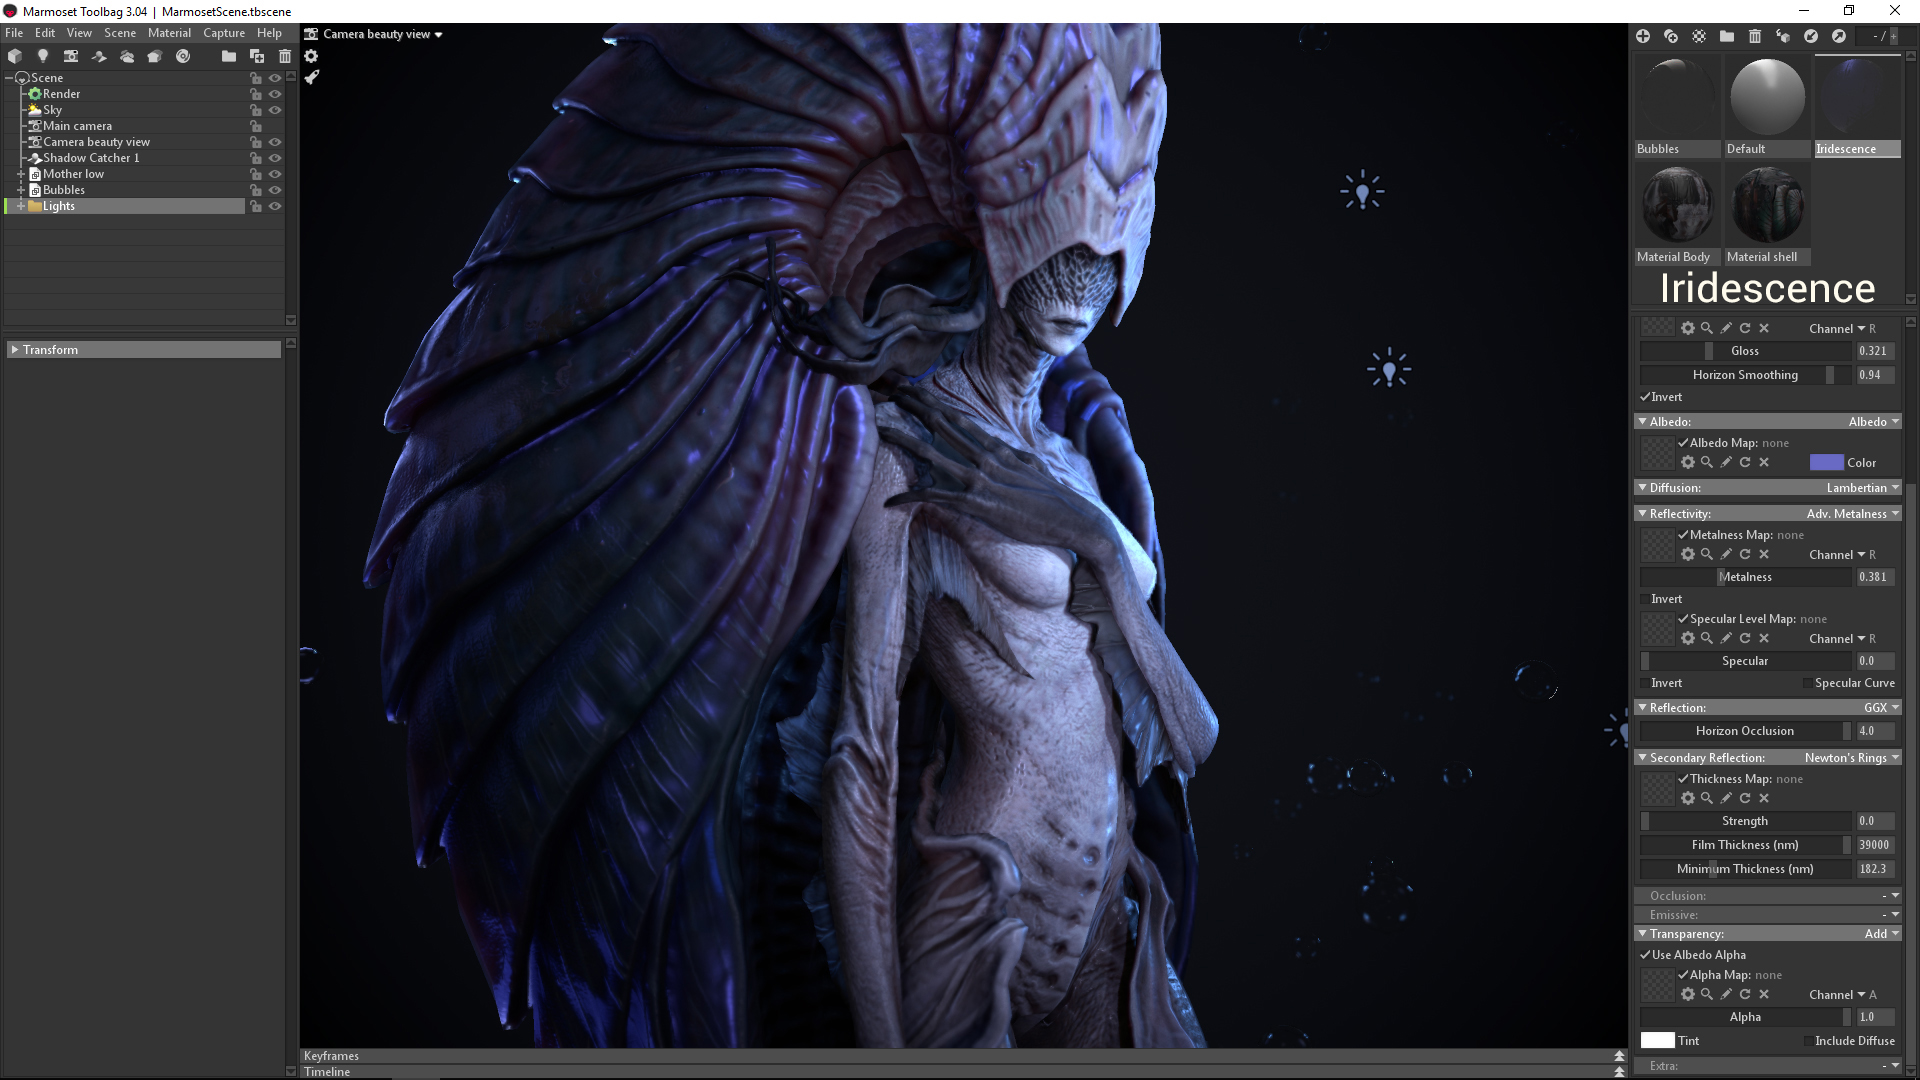
It was a matter of experimenting since I didn’t want scientifically accurate bubbles, only bubbles that looked artistically nice. The same case applied for the Iridescence. I experimented a lot until I got a result that I liked, achieved with a transparent material (Transparency mode is set to ‘Add’) with a purplish Albedo color.
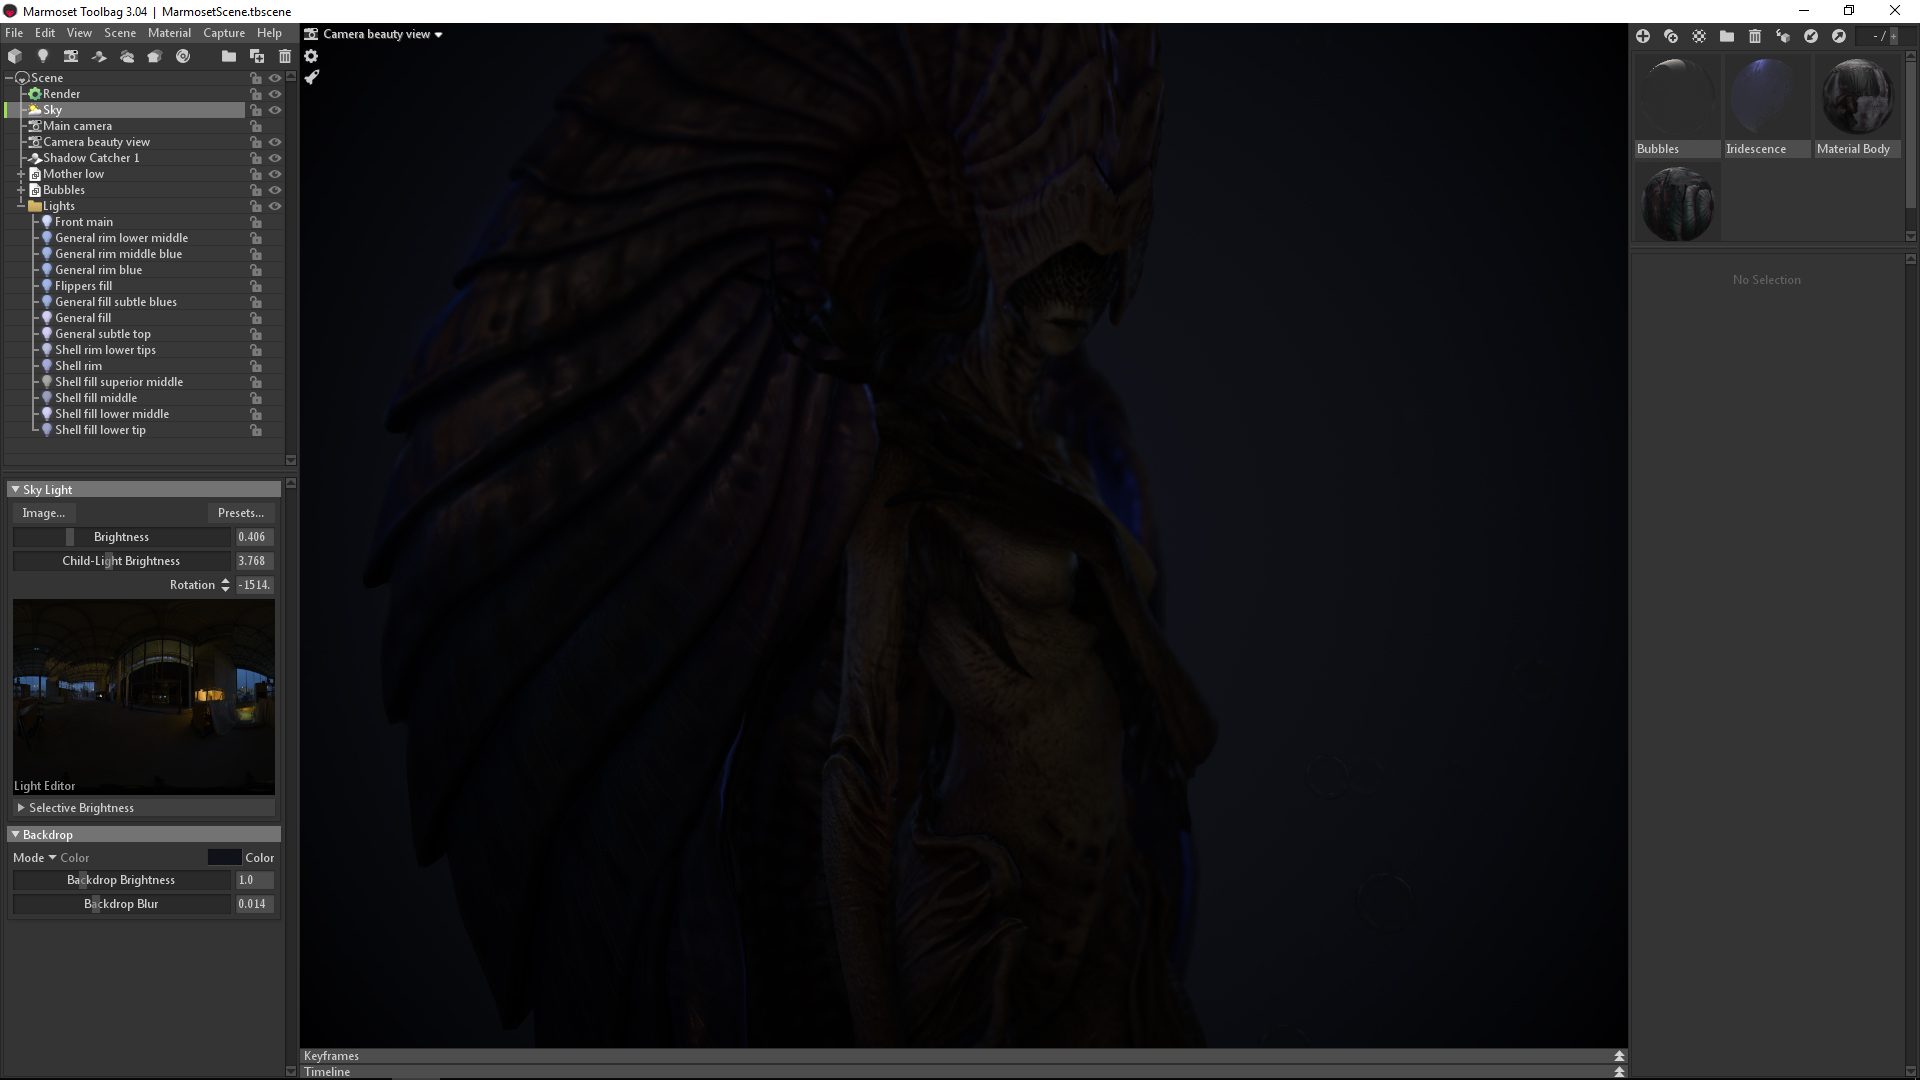
Lighting
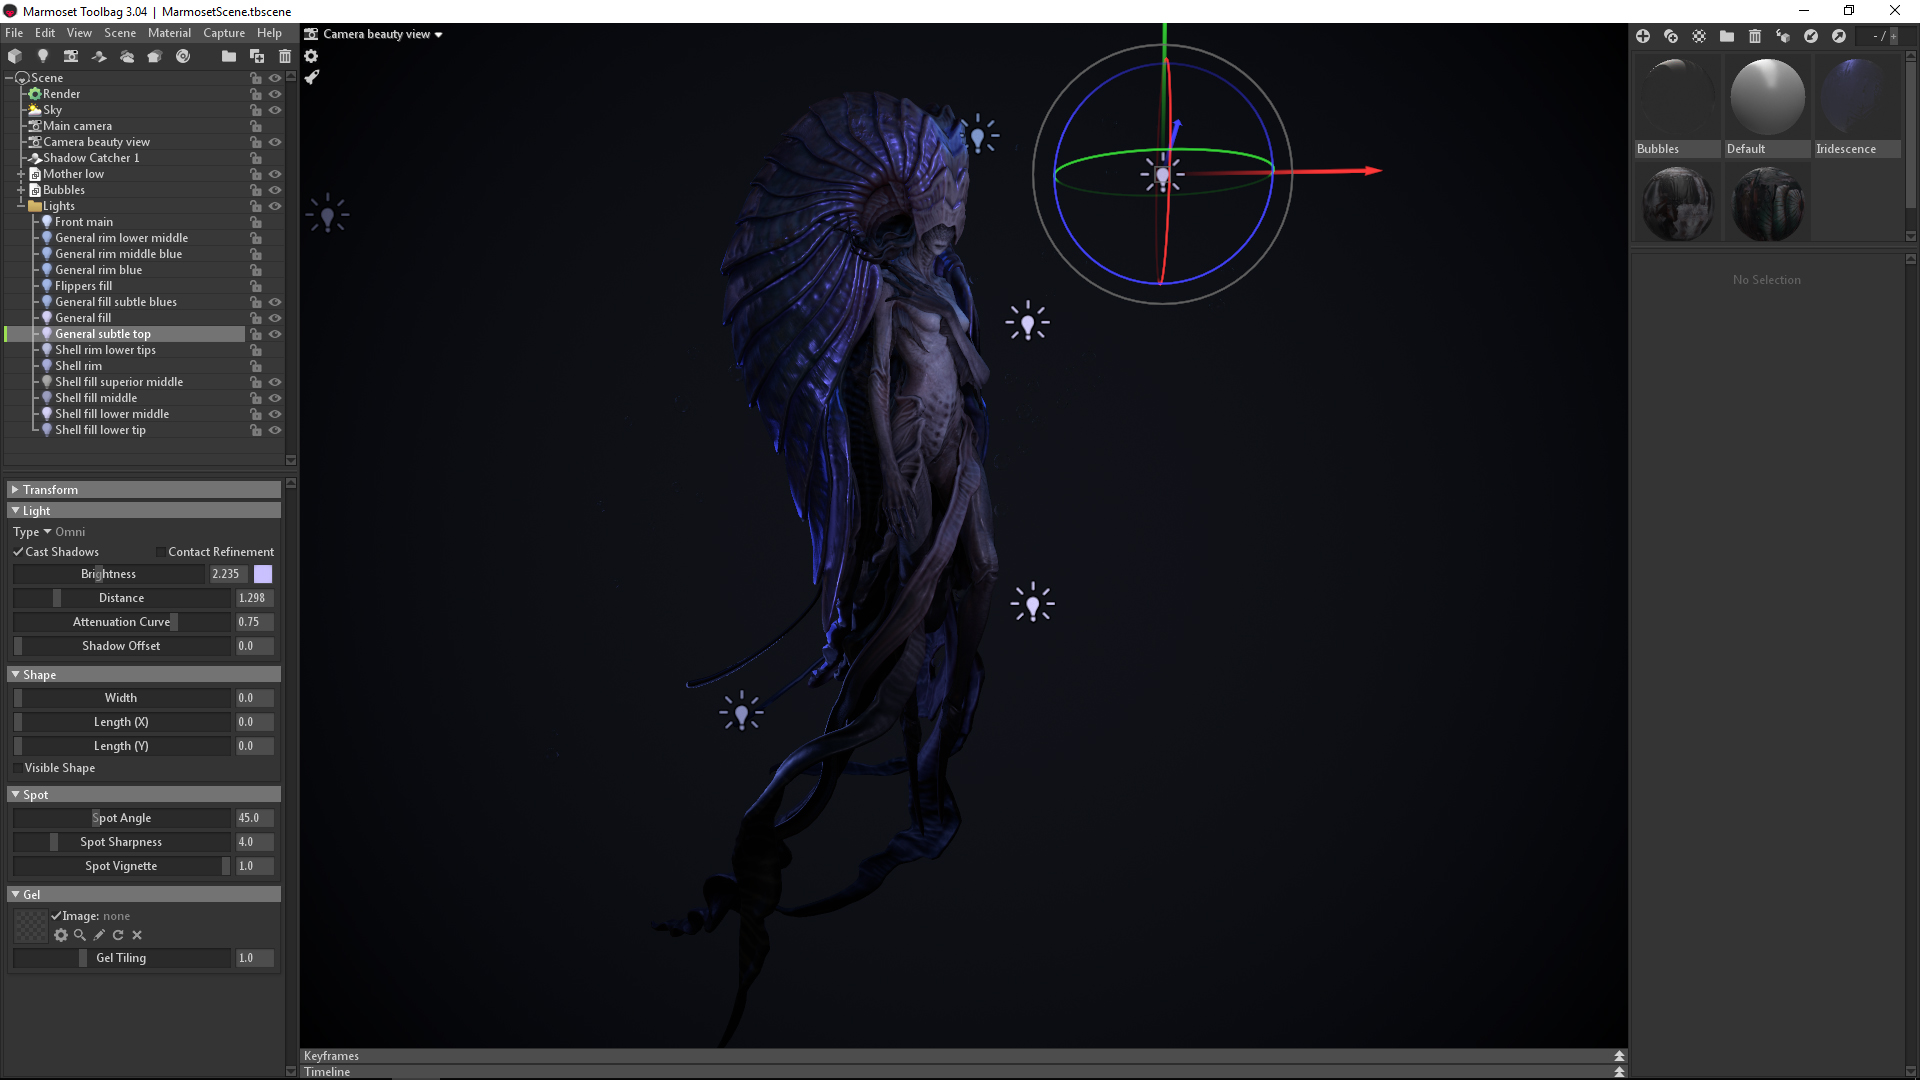
Regarding the lights, there is a total of 14 omni lights in my scene. I started by selecting one of the sky presets and significantly reducing the intensity of the light.
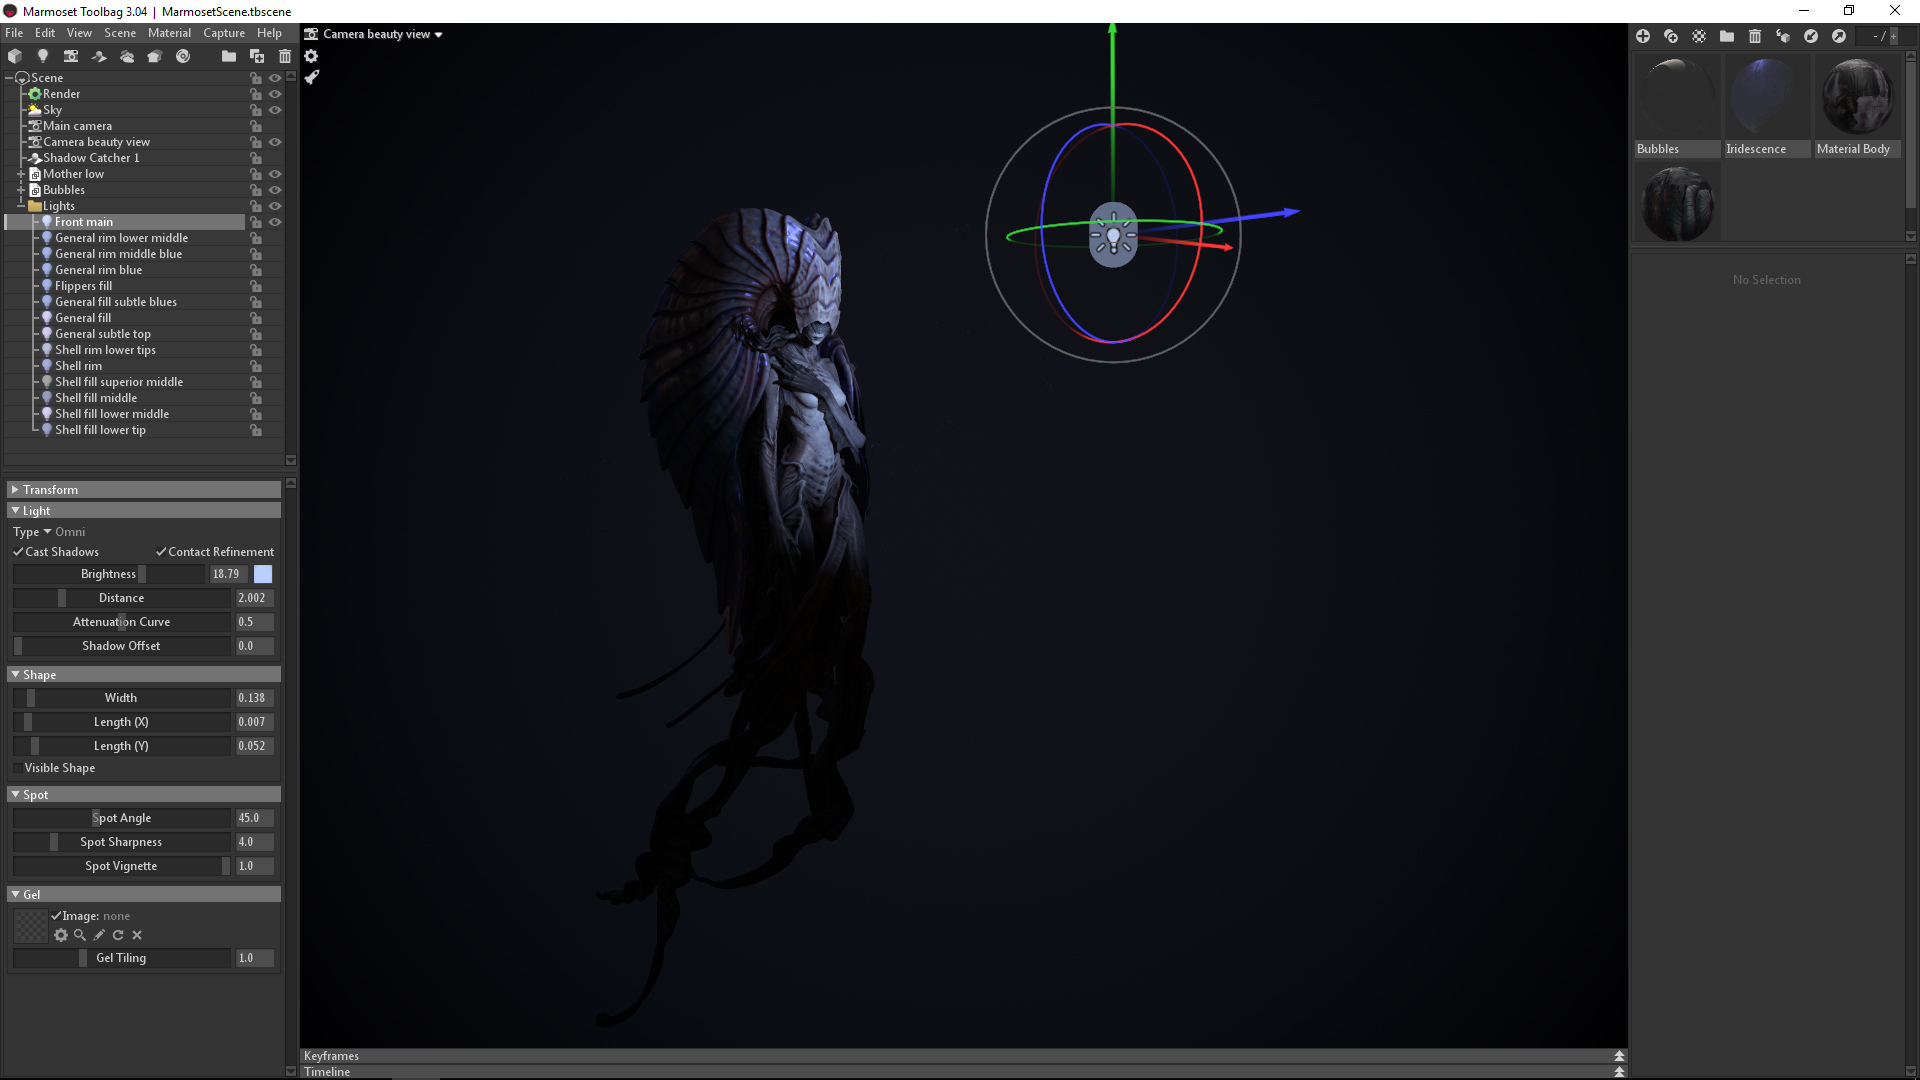
I then started placing omni lights by hand. My first step is adding the main omni light that will be on the focal point of the character, and then start building the rest around it. In this case, it was the upper middle part of her since it was a beauty shot.

I always try to achieve dramatic lighting. Lighting that won’t look flat with shadows that will help give the character better readability. In this step, I placed my omni light at the top. The character is slightly posed, so that helped create shadows and you can see her volumes much better. I also tweaked the size of every omni light so that the shadows are softer.
Instead of having one individual light as a fill or rim light, I create multiple smaller ones to help accentuate different areas of the character. Once they are all active together, I find the lighting to be much richer. Sometimes the omni lights can be really small, made just to accentuate a tiny area of the model, and that’s why I have a larger number of them.
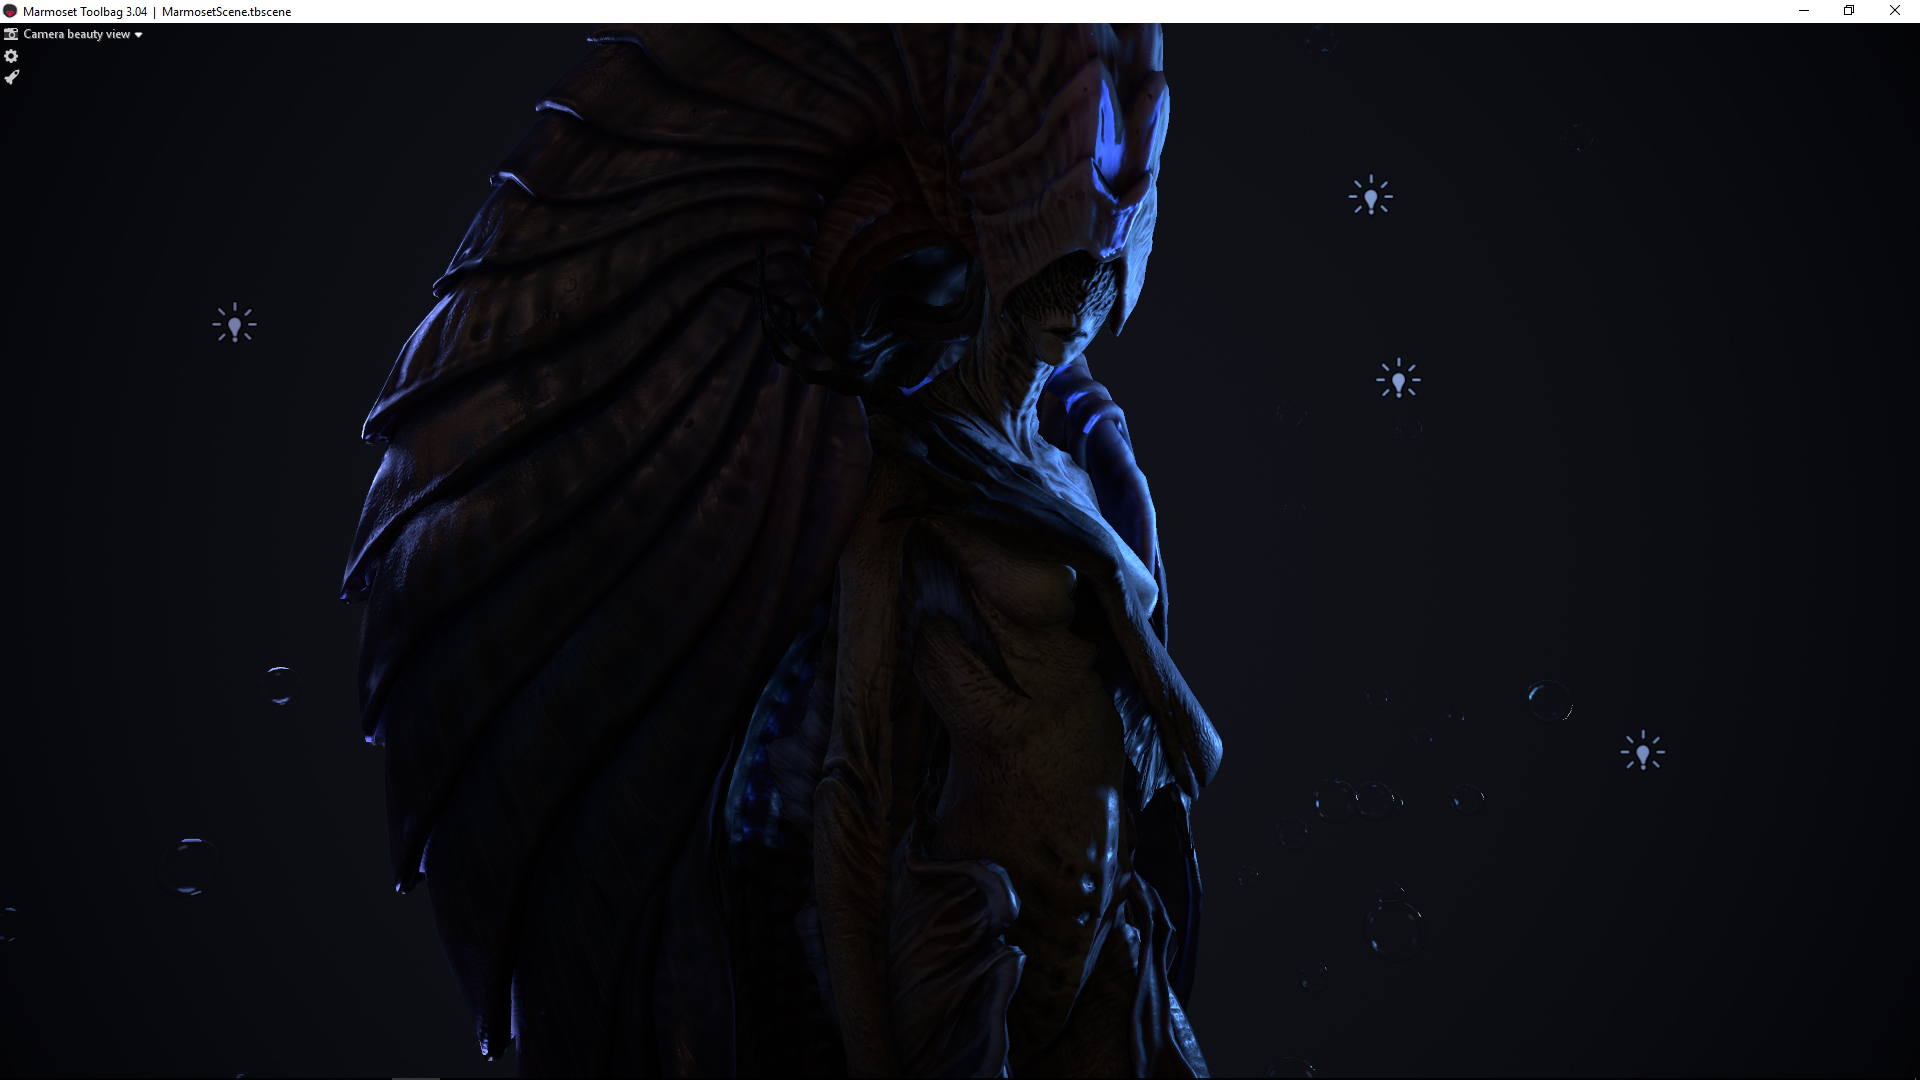
The next step was creating rim lights. Rim lights help make the silhouette of the character pop. This was an underwater themed model, so all my lights have a blue or purplish tone. I have multiple rim lights as well, but they all concentrate on the upper middle left side of the model which was the area I wanted to bring the most attention to.

The fill lights were next. Fill lights are subtle lights that help illuminate darker areas so that no detail is lost.

These lights by themselves look flat and uninteresting, but when combined with the others, they really help bring out details that would be covered in shadow otherwise. These can be more or less subtle depending on the effect you want to achieve.
Here is a final shot of all the lights combined.

How do you plan and execute animations for your characters?
All my character’s animations are executed by Juan Cervilla. I just tell him my ideas and he does all the magic!
We asked Juan about his process and collaboration with Natalia. Here’s what he had to say.
Juan: First, I start building the rig for the character, using anatomy references for better joint positioning or to place them in the best spot. I usually do a first pass and a skinning test to see if the base rig is working the way I like. Then I proceed with the second pass which involves tweaking and polishing the rig. Since I work with the rig as a reference, I only really spot issues when I start animating. So it’s a bit of back and forth in the beginning, making tweaks in the original rig file while animating to refine the skinning.

Before jumping into animation, I always ask the artist (Natalia) how she thinks the character moves and we look at references to find the best way to bring them to life. We research locomotion, behavior and sometimes I also film myself for reference. Then I create a lot of different poses and try to find the perfect one for the character and show them to the character artist for feedback.

Once we are in the animation stage, I grab the references and start animating the character with a blocking pass, keeping the animation at just the main keys to see if the overall motion is solid and works the way we want. Then I start breaking down the animation with a couple of passes. When we are in a good stage, I start the refining phase, working on the root motion first until we have a good feeling. I move into the spine and then the limbs. After some tweaks, I finish with the facial animation (if applicable) and all the extra layers like clothes, tails, accessories. Now that we have our character animated, I finish my part with the import/export process into Toolbag.

What’s your advice for staying motivated when working on a personal piece?
If you’re struggling to finish a piece, my advice would first be to let it rest. Sometimes, we really pressure and force ourselves to continue working on a piece because we think that if we can’t make it work, it’s because we’re not trying hard enough. Even for someone with this mentality, it might seem like the wrong thing to do (although it’s actually the obvious step to take). It’s better to let it rest for a while and return to it with fresh eyes.
My second advice would be that, if stuck, try to concentrate on a single element at a time. If it’s a character with lots of components, try to focus on a single element, even if it’s simple. In fact it’s better if it’s simple: a leather bag, a gauntlet, even the handle of a sword. Focus on that, leave the rest, investigate it and try to represent it the best way you can. Don’t see being stuck as a problem, but as an opportunity to focus on other elements and learn in detail how they work.

Check out more of Natalia’s work on Artstation and learn how Toolbag 3 can help you create stories for your characters.