This tutorial will guide you through many of the awesome new features that we’ve added to Toolbag 2 to get your art imported and looking pretty in record time. This article is meant to highlight the major points as a lot that has been added or changed since Toolbag 1. There is much more hidden beneath surface, so be sure to experiment with everything that you find.
Scenes
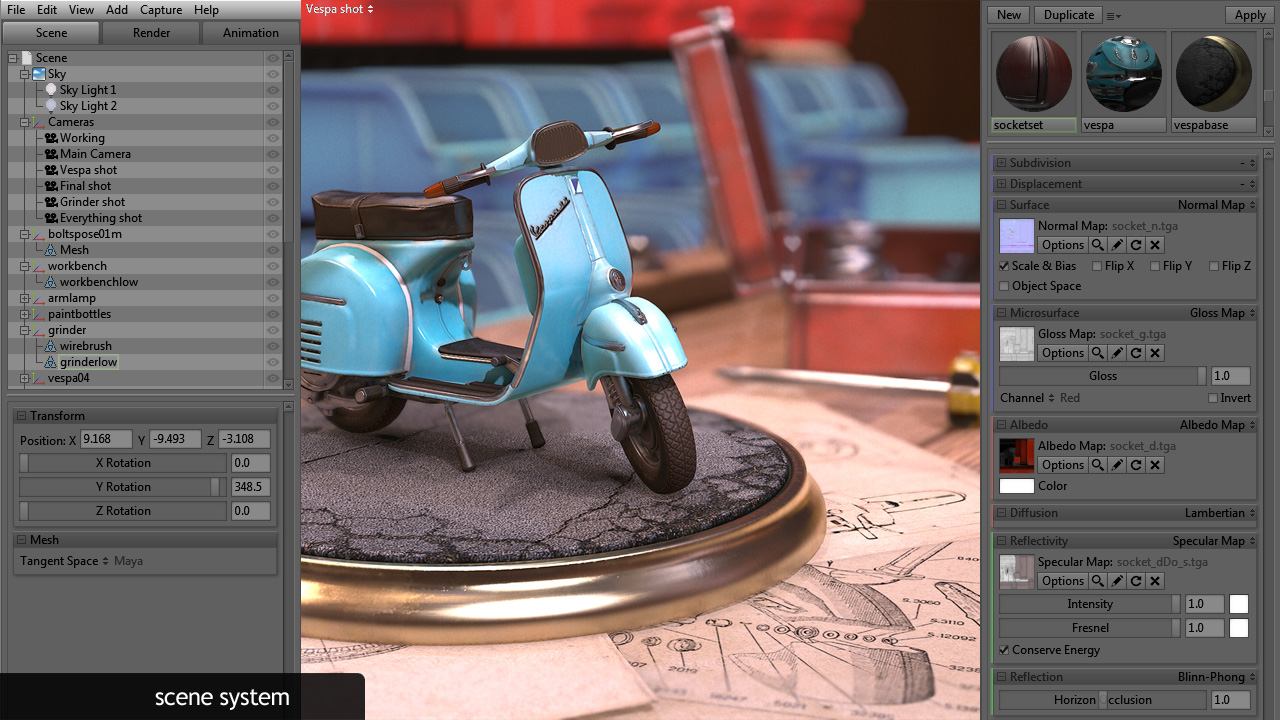
The scene system is new with Toolbag 2 and supports multiple objects; including groups, meshes, cameras, and lights.
Organization
 Objects can be rearranged in the scene list with a simple drag and drop interface. Rename an object by double clicking on it in the scene list. Click on the eyeball icon to toggle visibility per object.
Group objects by making a selection (Ctrl or Shift+click in the scene list or Ctrl+click in the viewport to select multiple objects) and clicking “Add” -> “Group” from the menu, or press Ctrl+G. If no objects are selected, an empty group item will be added to the scene which you can drag objects into.
You can also parent most object types to other objects. For instance, you can parent a mesh or light to another mesh by dragging object A onto object B. This can be very useful if you want one object to stay with another.
Protip: Parent a dynamic light to the sky object to make it follow the sky rotation (Shift+LMB).
Scene Saving
The scene file format (.tbscene) now saves all objects, including meshes, materials, cameras, and lights. Textures, however, are saved as references to external image files. Stand alone .mesh files created with Toolbag 1 can be loaded, but not saved out of Toolbag 2. Materials, however, will need to be re-created for .mesh files.
Meshes
Add Meshes
Meshes can be loaded from the menu by selecting “Add” -> “Mesh” (Ctrl+B). Most common 3D application formats are supported, such as:
|
|
|
Very dense meshes (millions of polygons) are supported. The OBJ loader is very fast which makes it the best choice for high-resolution models. A UV channel is no longer a requirement (though UV-less models can only use simple parametric materials), which makes Toolbag 2 a great platform for quick preview of high-polygon models.
Multiple objects or mesh chunks will load as child objects of the mesh group. These can be re-arranged anywhere in the scene. Only one material can be applied per mesh, so make sure to separate objects that require different materials in your 3D application before exporting.
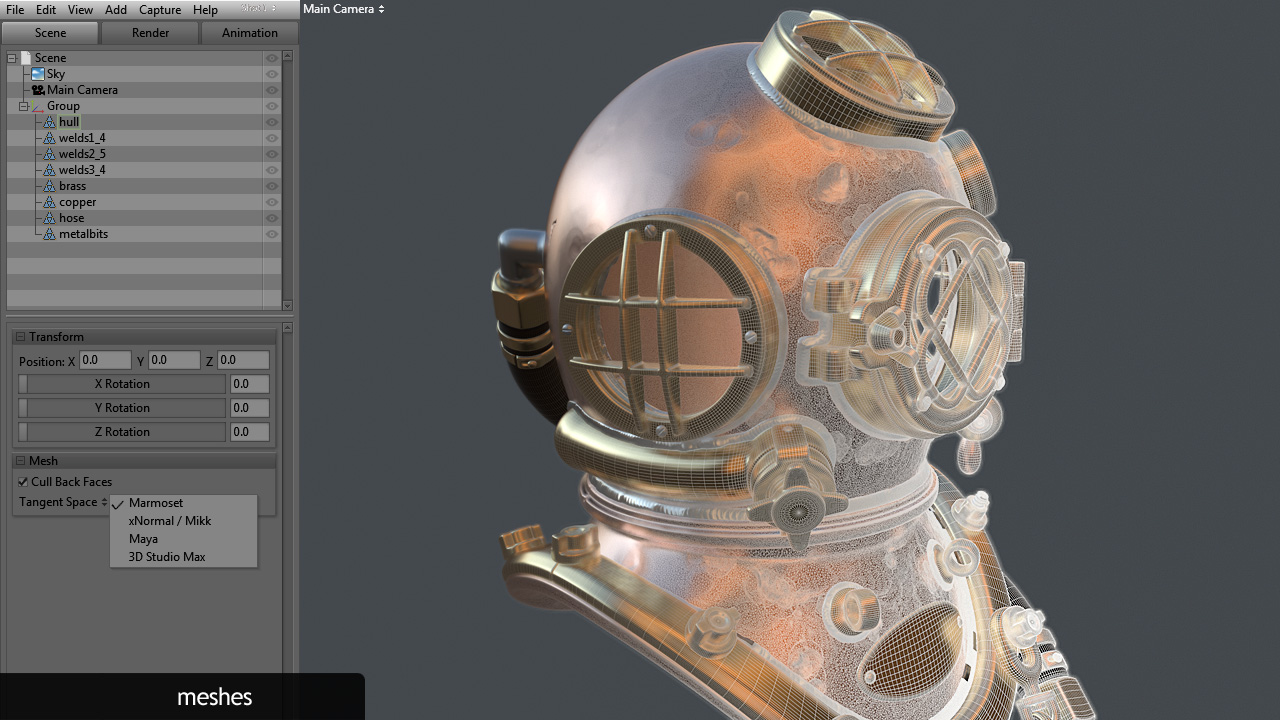
Mesh properties
In the mesh properties you will find a tangent space drop-down. If your asset uses a baked normal map, select the appropriate tangent space for the application that you used to bake your normal map. If you created your model in one program, but baked it in another (like xNormal) make sure to select the tangent space of the baker. You can also disable back face culling for meshes that need to be double sided.
Object Transformation
 Objects can be moved and rotated with the universal widget. Select an object by clicking on it in the viewport or in the scene list to pop up the widget. Clicking in the empty space of the viewport will drop your current selection.
To rotate an object, use the red, green and blue circles for locked-axis rotation, and the larger white circle for screen space rotation. To move an object, use the red, green and blue arrows for axis-locked movement, and the white square in the middle for screen space movement. Object transformation can also be set numerically in the text boxes listed on the mesh properties.
Materials

Add and Apply Materials
When a new scene is created, a default material will be added to the scene and applied to all meshes on import. Create a new material by clicking the “New” button at the top of the material editor. Duplicate an existing material by selecting a material and clicking the “Duplicate” button.
Note: If you delete a material that is assigned to a mesh, the default material will be re-added to the scene (all meshes must have a material assigned to them).
Import, Export, and load preset materials via the drop-down next to the “Duplicate” button. You can create your own preset materials by exporting to <install directory>/data/mat/. New material presets will appear in the list the next time you open Toolbag.
Select a material from the palette and drag it onto a mesh in the viewport to apply. Materials can also be dragged onto meshes or groups in the scene list, dragging onto a group will assign the current material to all child meshes in the group. To quickly apply one material to many meshes, select a material, then select multiple meshes in the scene list and press “Apply”.
Shader Models and Textures
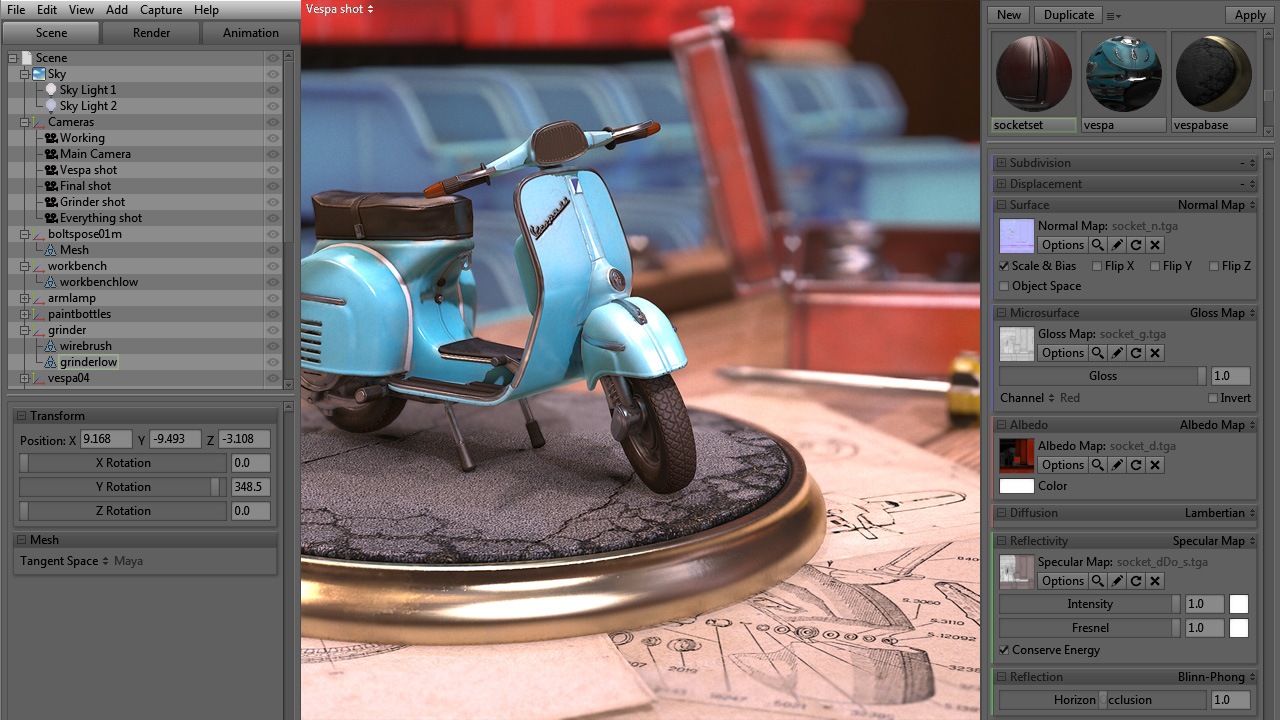
 The material system is based on our physically accurate renderer and features a very flexible, modular shader editor. For each material you can pick from a variety of shading models to suit your needs. The default material is set up to provide the basic essentials for standard materials.
The material editor has many swappable modules that can be set up to display a variety of other content, including displacement maps, parallax maps, transparency, and more. Check the drop-down box in each shader module to see the available options.
Textures can be loaded by clicking the checkered square in each material module. Some texture inputs, such as gloss maps, support loading content from single color channels or the alpha channel, use the “Channel” drop-down to select form R, G, B or A channels. Most common texture formats are supported:
|
|
If you’re familiar with Toolbag 1 or another engine that uses standard diffuse, specular, gloss and normal maps there are some differences in terminology. The Diffuse Map is now called the “Albedo Map”, and the “Gloss Map” is found in the “Microsurface” module. If your gloss map content is packed in the specular map’s alpha channel, load your specular map into the “Gloss Map” slot and select “A” from the “Channel” selector.
For users experienced with modern game engines which use physically accurate shaders, there may be some slight differences in workflow. If you have content created for an engine that uses a Roughness Map, where dark values equal glossy surfaces and bright values equal rough surfaces, load your Roughness Map into the “Gloss Map” slot, but be sure to enable the “Invert” check box (you may also need to turn on sRGB in the per-texture options box). If you’re working with a metalness type workflow, change the “Reflectivity” module from “Specular Map” to “Metalness Map”.
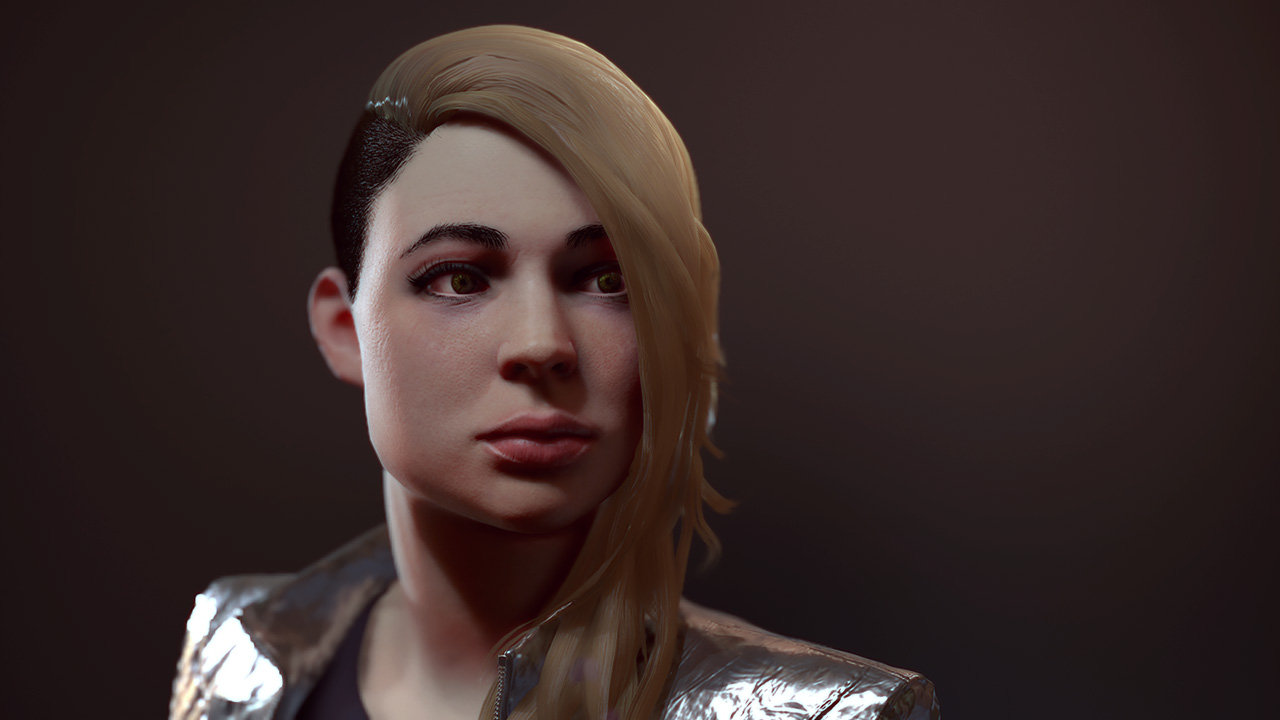
To use the skin shader, change the “Diffusion” module from “Lambertian” to “Skin”. This will allow you to load a sub-dermis map, a translucency map, and provides various sliders to create all manner of fleshy surfaces.
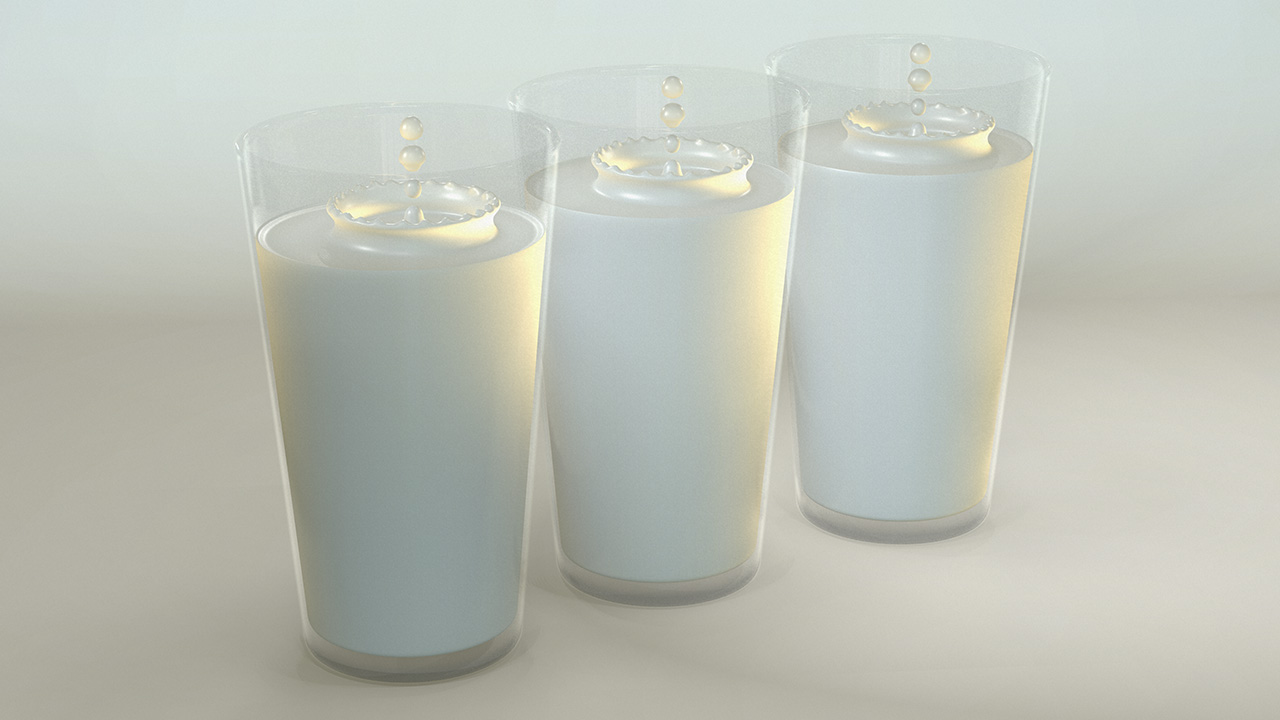
To use transparency, select a transparency model from the “Transparency” module. Toolbag current supports three types of transparency:
- “Cutout”: Basic alphatest transparency.
- “Dithered”: Soft, dithered blending, great for hair. Dithered renders out smooth but may look noisy in viewport.
- “Add”: Additive blending, good for simple glassy surfaces, wet shells over eyeballs, etc. By default additive blending only takes the specular reflections into account. Diffuse can be used as well, however this will cause the diffuse content to glow, which works well for certain effects like reticles on red dot scopes.
Lighting
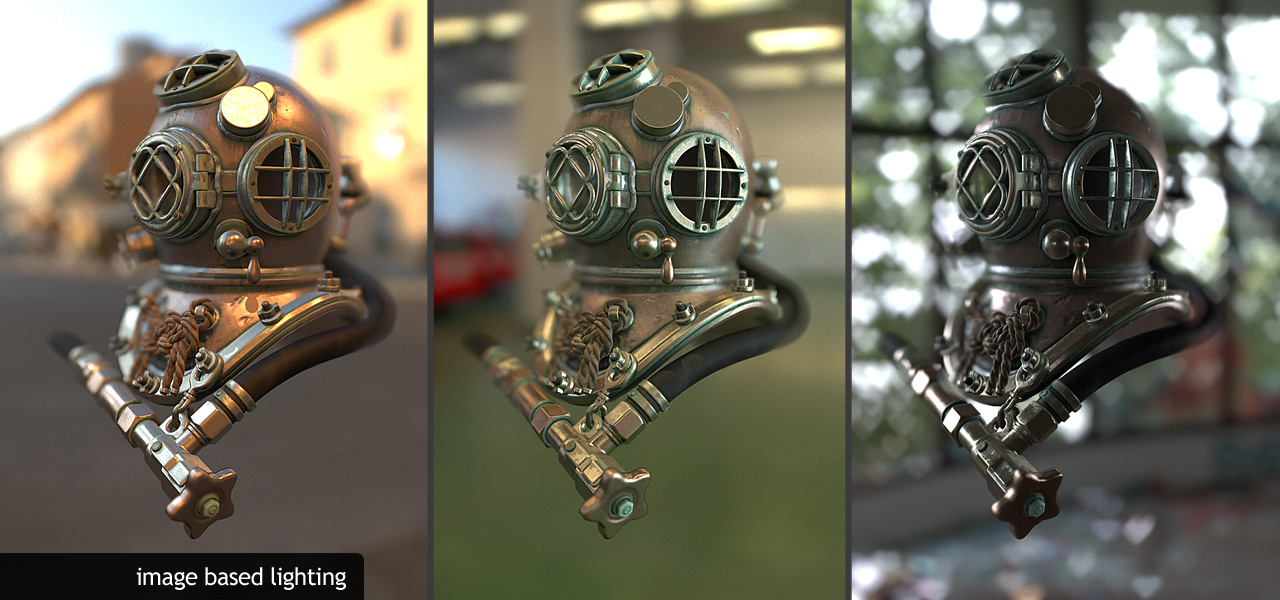
Image Based Lighting
The foundation of the lighting system is our industry leading image based lighting technology, derived from panoramic sky images in real time (say goodbye to preprocessed cubemap content!). Toolbag includes a variety of preset skies which can be loaded via the “Presets” drop-down in the sky object properties.
Custom panoramic images can also be loaded by clicking the “Image” button. Most image formats are supported as well as most panoramic types (cross, long lat, etc) which will be automatically recognized. Panoramic images are processed in real-time on load, with no wait time or complicated settings to worry about.
 Place a child light by clicking any point of the image displayed in the light editor. Remove any child light with a RMB click. Child lights will take on the position, intensity and color of the sky content where they are placed. Child lights can be moved by click+dragging the child light icon, which will update the light’s properties based on its new position on the sky image.
Child lights are created as directional dynamic lights, the specific parameters of each can be modified by clicking on a light object in the scene list. You can also drag lights into the “Sky” group if you want their position to update when rotating the sky.
The sliders in the sky light properties can be used to set various exposure settings related to the sky, child lights and background.
The “Selective Brightness” module can be used to tweak the contrast of the image based lighting. For example, set the threshold to 0.7 to affect only content brighter than 0.7, and set the scale to 2 to make that content twice as bright.
Dynamic Lights
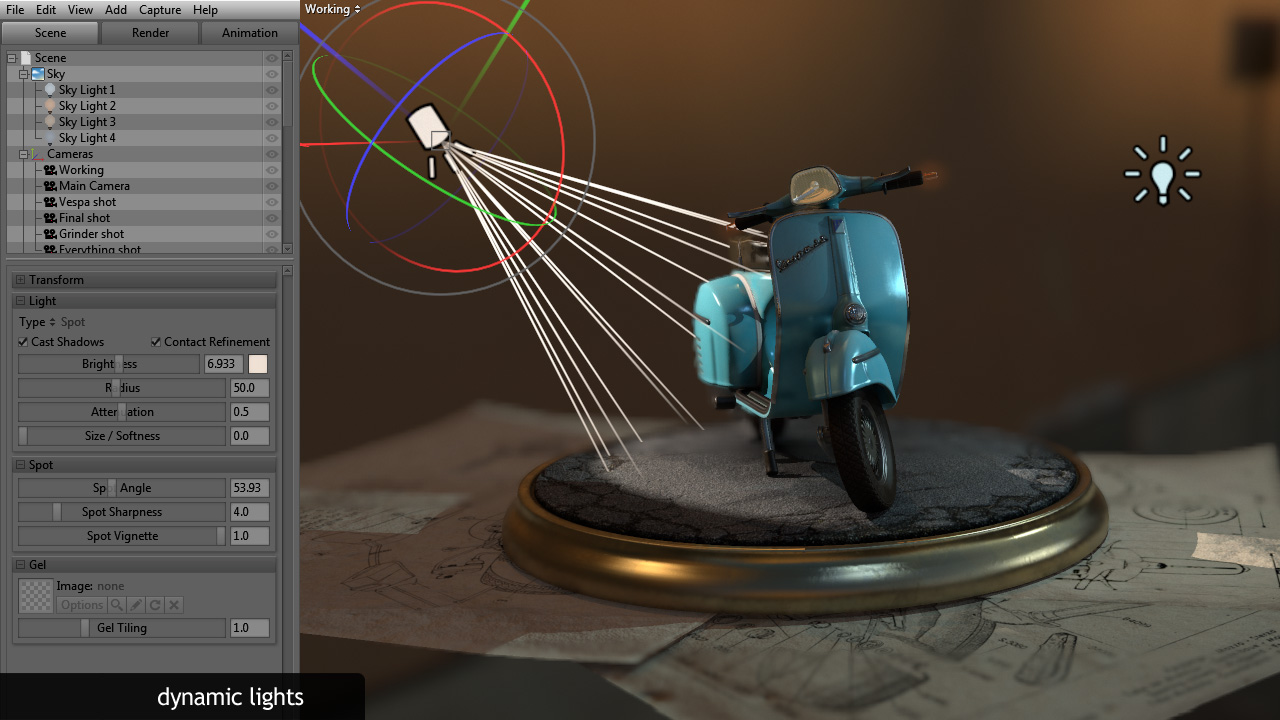 Dynamic lights can be created from the menu by selecting “Add” -> “Light” (Ctrl+L). By default, new dynamic lights are created as point lights. Change the type to “Spot” or “Directional” with the “Type” drop-down. All light types have the ability to cast shadows, toggled with the “Cast Shadows” checkbox.
The sliders in the light module can be used to adjust brightness/intensity, color, radius, attenuation/falloff, and size/softness. A light gel or gobo image can be loaded as well in the “Gel” module.
Cameras
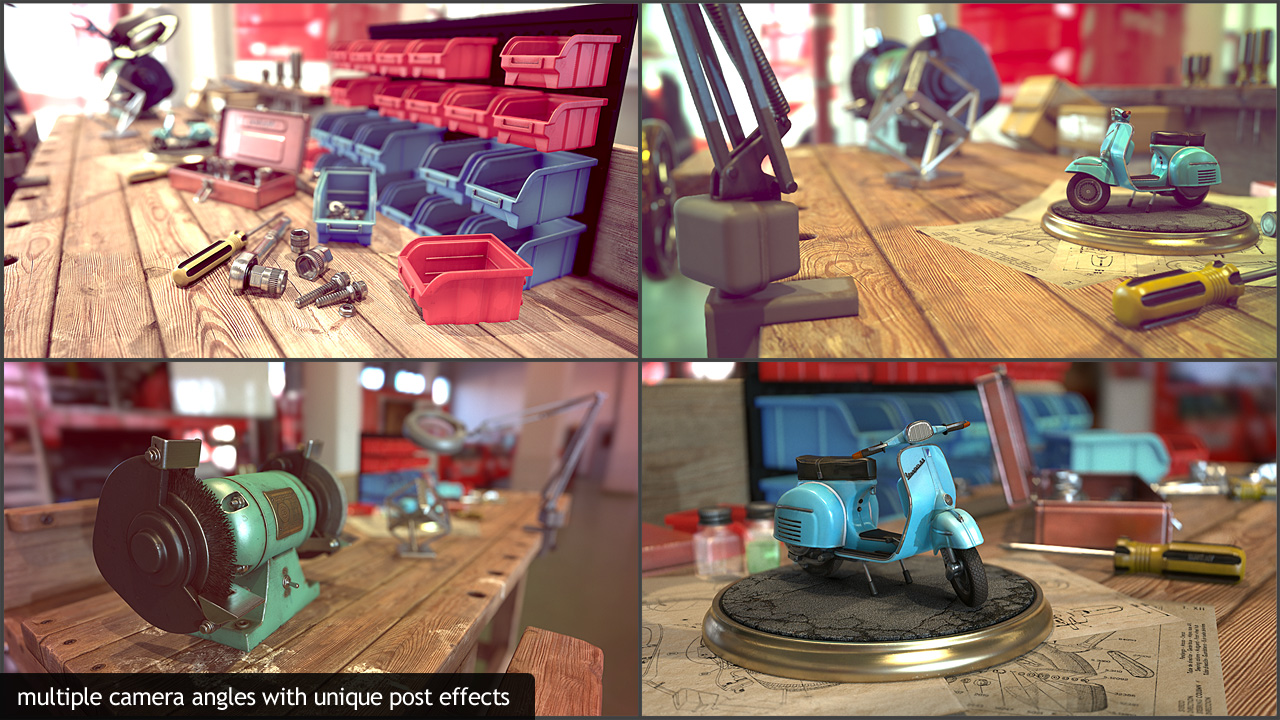
Camera System
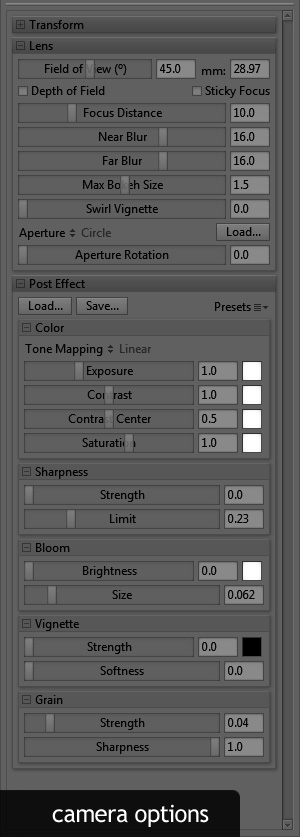 The camera system in Toolbag 2 controls the field of view, depth of field and post effect settings on a per-camera basis. Add a new camera from the menu by selecting “Add” -> “Camera” (Ctrl+K). Use the drop-down menu in the top left corner of the viewport to set the active camera (image capture will use the active camera).
- Alt – Rotate camera
- Alt+Shift or Alt+MMB – Track camera left/right
- Alt+RMB or scroll wheel – Zoom camera
Adjust the field of view slider or type in a number into the mm box to set the FOV/focal length of the lens. A short focal length lens (large field of view) will exaggerate or distort the perspective. A longer focal length lens (narrow field of view) will compress the perspective.
Protip: Generally for portraits a long focal length is flattering, in the 85mm (FOV:16) range.
Click the checkbox to enable depth of field. Set the focus distance with the slider or middle mouse click in the viewport to auto focus. You can also enable sticky focus to keep your object in focus as you reposition the camera.
Near and far blur set the intensity of blur in front and behind of the focal plane respectively. Max bokeh size sets the intensity of the DOF effect. Pick a different aperture from the drop-down list to change the shape of the out of focus highlight (bokeh), or load your own custom image (make sure your bokeh shape is in the RGB channels as well as the Alpha, and that your image is saved as 32bit). Swirl vignette adjusts the intensity of the swirly bokeh effect.
Post Effects
Post effect presets can be loaded and saved in the post effect module. Preset post effect settings can also be selected from the preset drop-down. If you would like a to save a new post effect into the preset list, save the file to <install directory>/data/post/. New post effect presets will appear in the list the next time you open Toolbag.
Rendering
Performance and Quality
Various rendering options can be found in the render tab. Viewport resolution can be changed from 1:1, 1:2(half) for better performance, or 2:1 (double) for better quality. 4x temporal anti-aliasing is on by default, turning it off will not give much performance boost so it is best to leave it on.
You can set up the options for 3D image display in the Stereo 3D module, set the stereo mode to Red/Cyan for use with 3D glasses, or Oculus Rift if you have a Rift headset.
In the scene module you can set common options like wireframe visibility, intensity and color, sky background visibility and background color.
Fancy Lighting
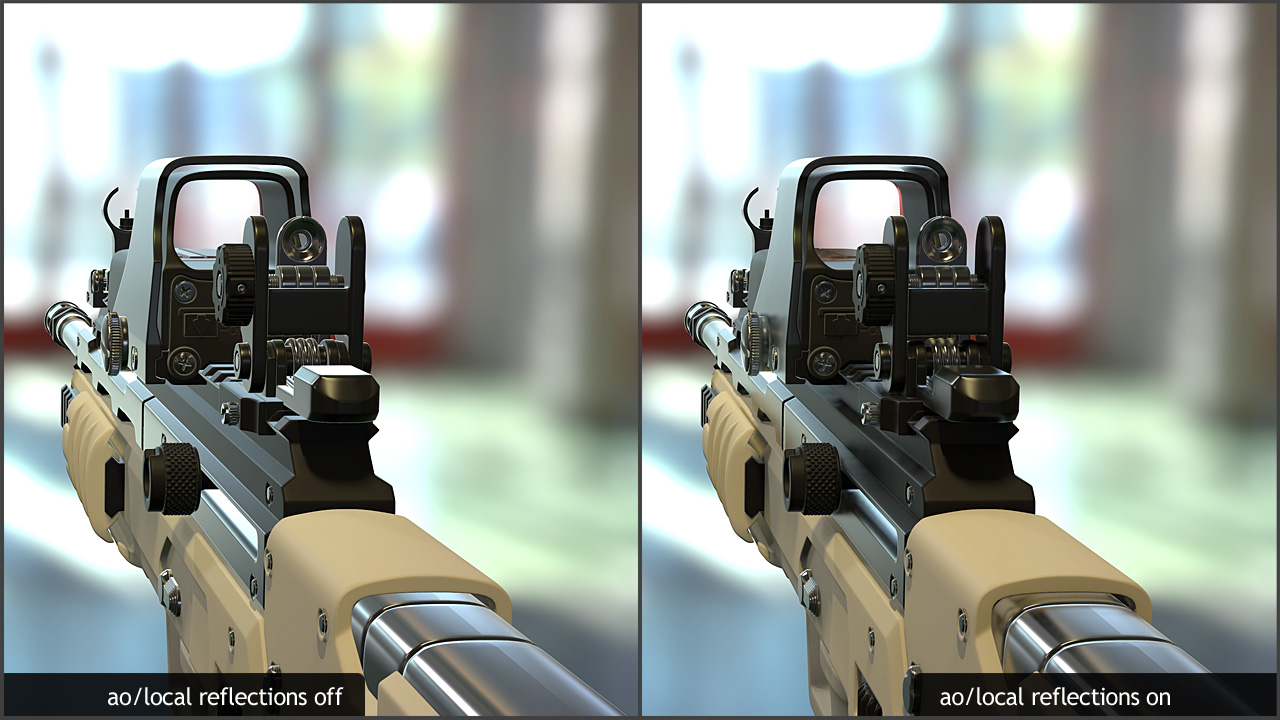
In the lighting module you will find the option to turn on local reflections to provide real time reflections, high-res shadow maps, and ambient occlusion to provide soft shading between objects.
Local reflections and ambient occlusion both use a screen-space technique, which means there are some limitations. Only what is visible on screen can be used as reflection/occlusion data. Both features come with a performance hit, and may not run well on older computers.
High-res shadow maps improve the quality of the shadows, but like local reflections and AO, come at a performance cost.
Watermark
The watermark settings can be adjusted in the watermark module of the render tab. Size, position and visibility can be toggled. The watermark can not be disabled in the trial version.
Animation and Output
Animation
 Toolbag 2 does not support rigged animation imported with meshes. Turntable animation is supported though. Use the sliders in the animation tab to preview turntable movement with the various turntable types.
The values in the turntable input boxes equate to degrees of rotation per second. A setting of 360 with give a full rotation every second, and a setting of 30 will give a full rotation every 12 seconds.
Output
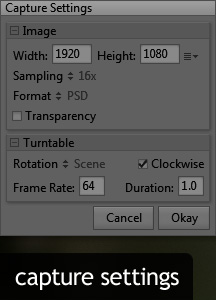 Images and turntable sequences can be exported from the Capture menu. There are a few options for capturing images, from the Capture menu you can save an image (F11), image & open (F10, will open in your default application for that file type), image to clipboard (F9, will copy image to clipboard) and turntable (F5, will export a sequence of still frames).
From the menu select Capture -> Settings to set up your preferences for resolution, sampling, transparency, and image format. For Turntable exports, you can also set the frame rate and duration. The total number of frames will be calculated for you. For example, a duration of 5.0 and a frame rate of 24, will export 120 frames. You can also select the rotation type with the rotation drop-down.
Conclusion
This guide only scratches the surface of what is possible in Toolbag 2. Make sure to try out all of the available options, features and shader models to create your own unique brand of awesome.